SO you're on the fence about the whole Nitrous issue. Well what if there was a product out there that was mild enough for the daily driver, wouldn't break the bank to purchase and easy enough even the most novice shade tree mechanic could install it? Well here ya go –
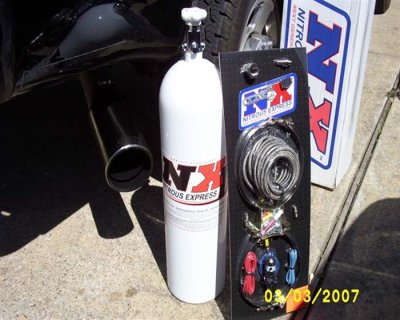
The guys at Nitrous Express have a great new product specifically designed for us diesel folks called the NXd Stacker. Nothing warms your heart more than to have the big brown truck pull up and hand you this bad boy. The first thing that impressed me was – everything. The kit comes with a 15lb bottle, all the parts wrapped in one nice package so you won't have to worry about the old "am I missing something" issues that can plague a wrenching project. Still think this might be too much of an install to take on? Follow this and you'll be pleasantly surprised.
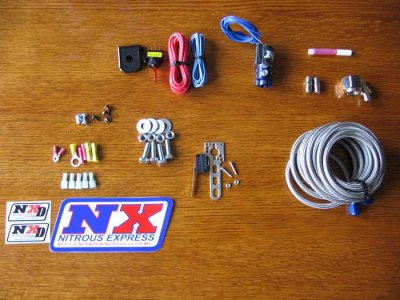
Let's start with the kit and the parts:
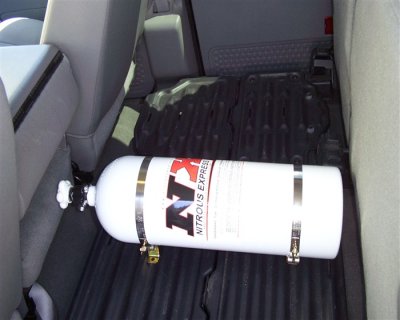
When I received the kit other than the elation of just what a nice setup it really was, the realization of where to mount the bottle hit me. Here are a few mounting options I considered.
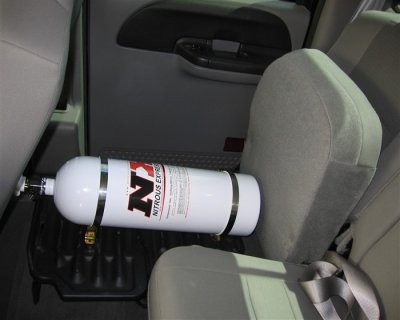
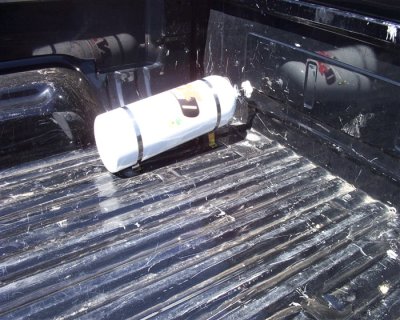
In my case the application is designed to compliment my other modifications for playing on the track. Now any of you who have been to a drag strip have noticed most rigs have the bottle mounted in the bed. Some tracks may frown on you having a bottle in the cab of your rig so you might want to check the rules. Mounting the bottle in the bed made the best sense for my application so that's where I decided to mount it.
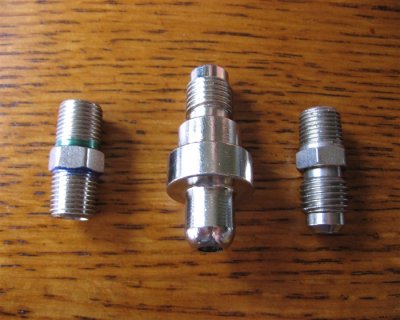
Before I began the installation I did a dry run to make sure I understood where all the parts went and how they fit together. Lets check out the fittings – here is what comes in the kit. The center nipple has a large rounded end that is screwed into the bottle using the Bottle Nut. The other end of it is tapered and matches the one on the right. Those rounded ends are tapered so they can seal with the Feed Line. The far left one mounts to your intake and the NX solenoid. The solenoid is clearly marked INLET and OUTLET.
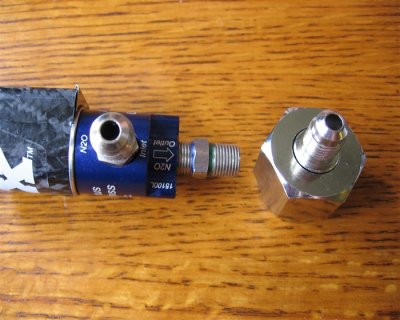
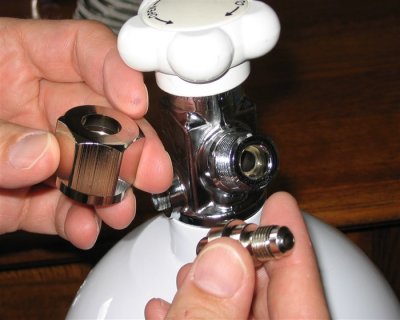
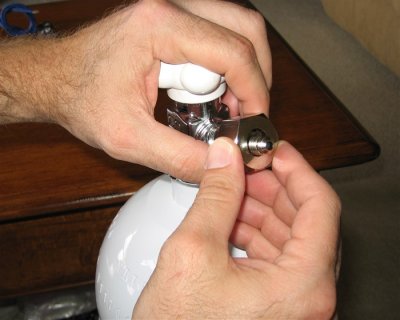
On these fittings you will not use Teflon tape. Nitrous Express provides a red tube of Thread Sealer BUT DO NOT use the this sealer on the ends where your Feed Line connects. I'll reiterate this later in the write up.
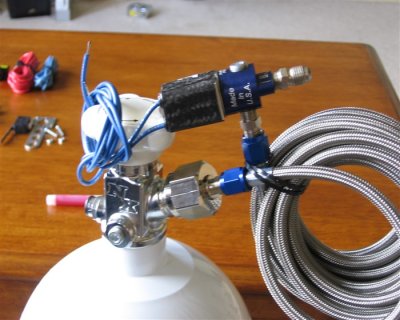
Here is a shot of what it'll look like:
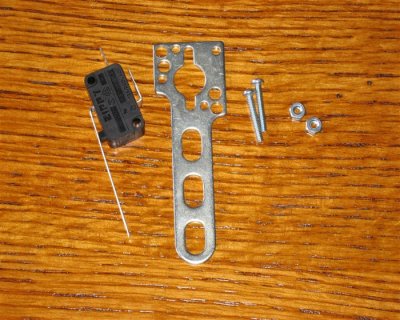
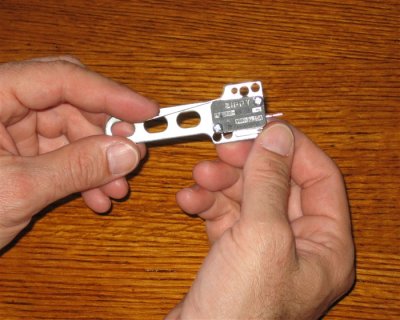
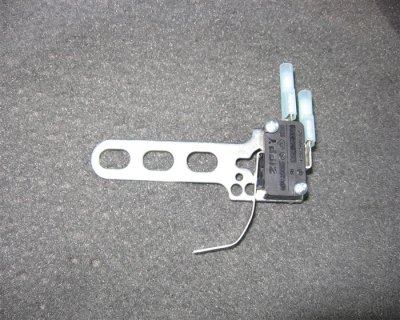
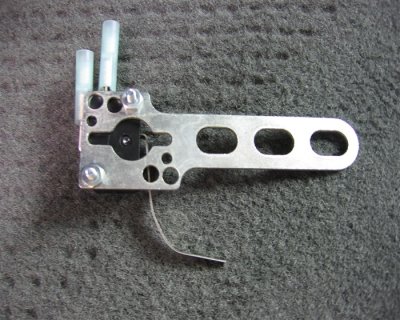
Next, I took a look at the activation switch. This will mount so that the kit is only activated at wide open throttle. It has multiple mounting holes on the bracket so you've many options as to how you place it. Plus the tab can be bent or cut to form to the desired location.
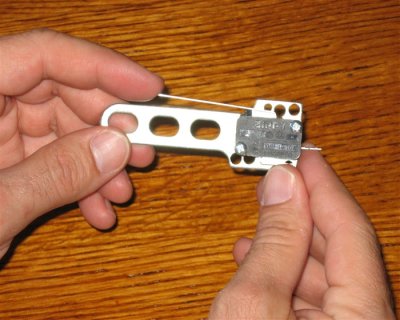
Ok, now that we've got an idea of how it all fits together and we know where we're going to mount the bottle – lets put this bad boy in.
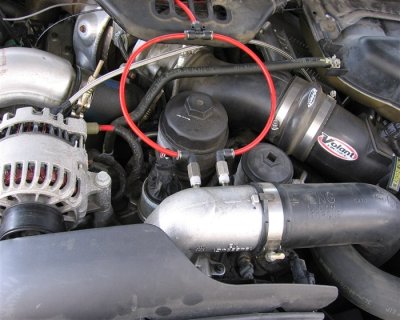
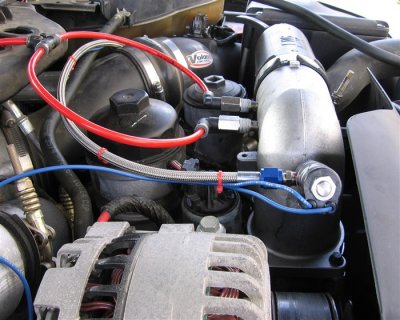
Mounting the solenoid seemingly to some may be something completely out of their grasp but I assure you it's easily done with basic tools and a little finesse. My application is going to be a bit different than most due to the fact that I'm running water/methanol injection so I already have dual nozzles mounted on the side of my intake elbow. That being said I decided to mount mine a bit forward. You might want to mount yours around a more central location but regardless the concept is still the same, so for this write up lets forget location and concentrate strictly on mounting.
You have one bolt that you'll need to loosen that connects the black plastic CAC tube to the aluminum elbow. There are four bolts that hold the elbow on to the motor. Once you've pulled them and loosened the CAC bolt, "finesse" the two apart. It is not easy to get the two apart but I assure you it comes off and there isn't some little guy hiding in there holding it like you may think after toying with it for 5 minutes.
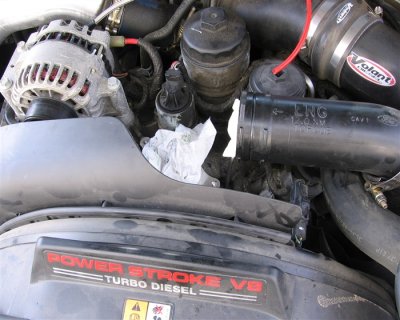
Once you have the elbow off place something in the holes to prevent tools, dirt, children and small farm animals from falling in.
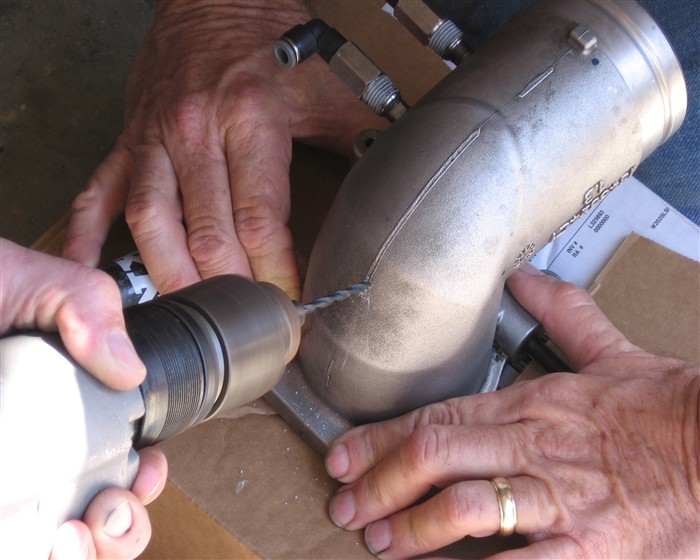
Start with a pilot bit and step up to a 11/32 hole in your intake – Take your time.
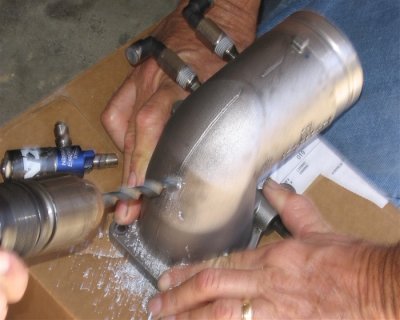
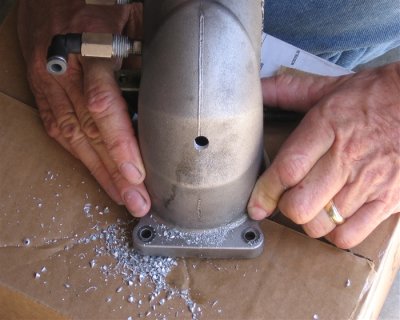
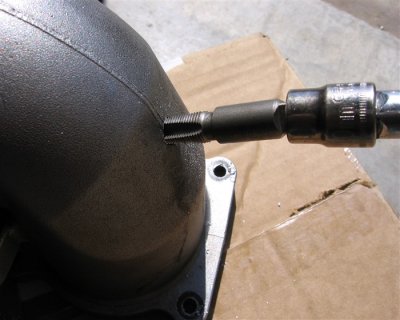
Once you've got the hole drilled, tap it with a 1/8 inch NTP – again taking your time. This is one step of the project that albeit is easy it's not something you want to rush. Working with aluminum is easy but if rushed can become a problem real quick.
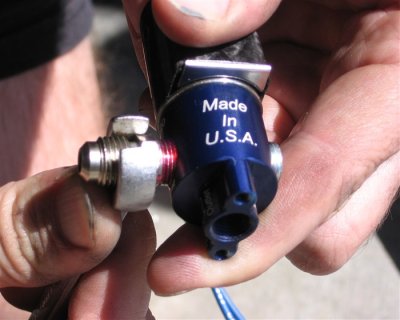
Before you mount the nozzle that goes into the intake, mount it to the solenoid. Don't use normal Teflon tape – Nitrous Express provides you with a red tube of Thread Sealer. Again DO NOT use this on the fittings that will go to the Feed Line. Just use it on the ends that go into the solenoid and the one that goes into the intake.
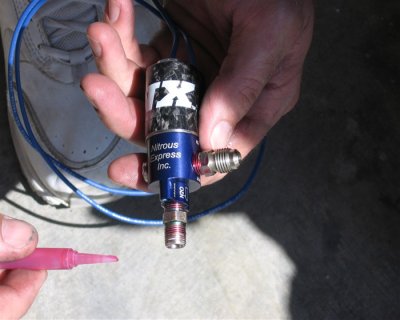
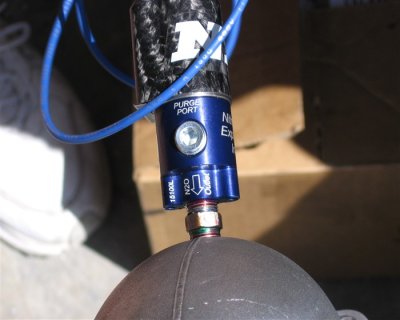
Screw the solenoid into the elbow.
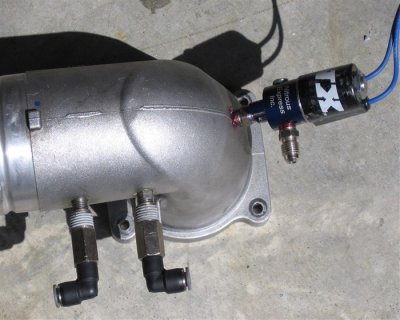
Reinstall the elbow and connect it back to the CAC tube. Don't over tighten your bolts on the elbow.
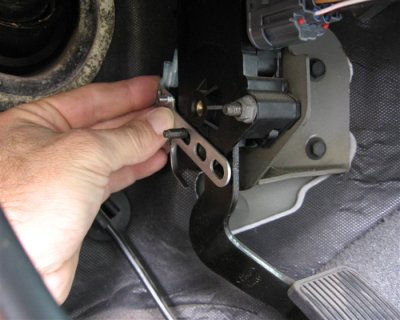
Lets mount the activation switch next. You need to find the best way to mount it so that it's sturdy and your pedal will activate it at wide open throttle. I decided to mount it here:
You'll notice that I rotated the switch on the bracket and bent the actuator lever to come in contact with the pedal when floored.
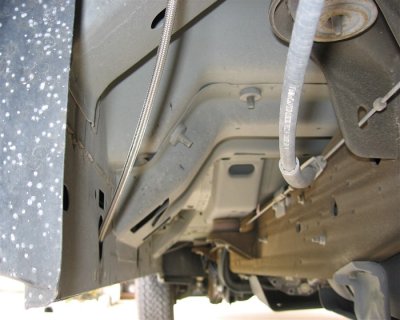
Next lets run the Feed Line. Cover the ends before you begin running the line. I placed tape over my ends and ran it from the bed, down and along the body inside a channel to provide protection. Keep the line away from any moving and hot parts. Also keep it away from any hot electrical connections that could cause spark.
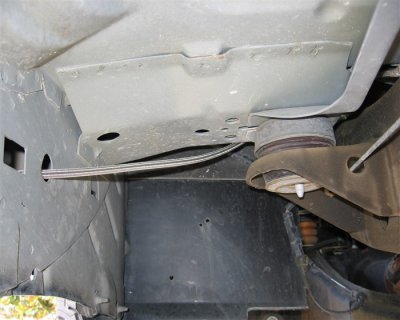
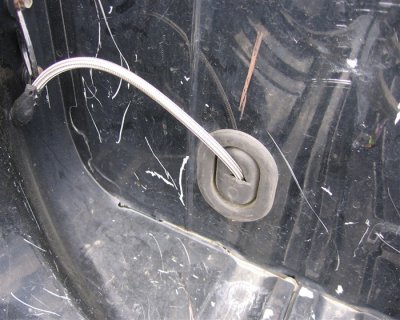
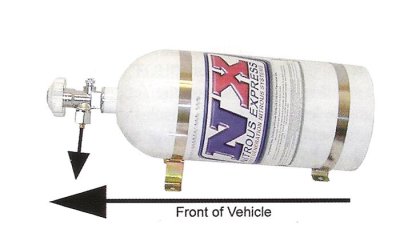
To mount the bottle you'll need to drill four 3/8 inch holes and no matter where you decide to mount the bottle BE SURE to check under the vehicle before you drill. Hitting a line or your fuel tank would put a damper on this project pretty quickly.
Be SURE to mount the bottle so that the OUTLET is facing down – the instructions tell you that this is of utmost importance so the internal siphon tube will pick up the nitrous.
You'll want to blow out the lines before connecting them to the bottle and the solenoid to ensure nothing got inside to block the flow.
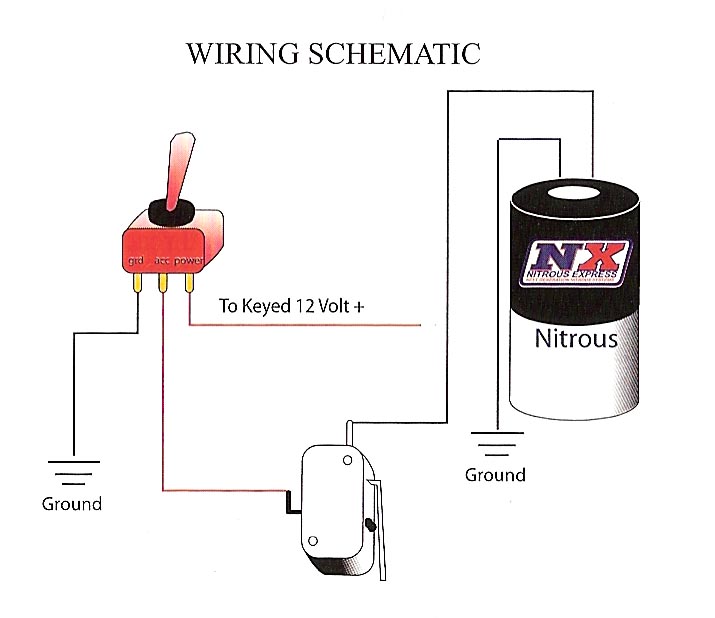
The electrical is very straight forward. You have two wires coming off the solenoid. One will go to ground and the other to the throttle switch.
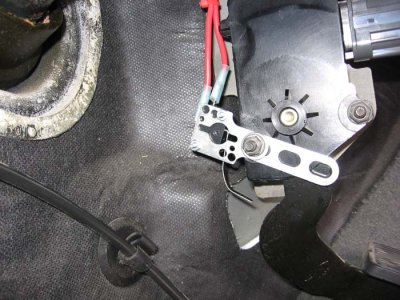
Test the throttle arming switch once you've finished the wiring BUT be sure you've no nitrous going to the lines. You should be able to flip your switch and hear a "click" when you push your pedal to the floor.
There are safety and power tuning tips in the manual and I recommend reading them.
I hope this write up helped but if you're in the middle of an install and have any questions, I'm going to a quote from the Nitrous Express installation guide:
A. Don't listen to your buddy!
B. Your buddies friend!
C. The local nitrous guru!
D. Any article in any magazine!
AND to add to that — E. My write up! :)
This is an installation write up. If for any reason you have any questions about the install, or the use of the kit call Nitrous Express. They're great guys and are the obvious choice for answering any questions about it.

