
Work Performed on 2002 CTD
My truck has an existing Carter Pusher Pump. I’m using the Vulcan Kit to Replace all the restrictive banjo Fittings and fuel lines.
Estimated Time of completion : 3 Hrs
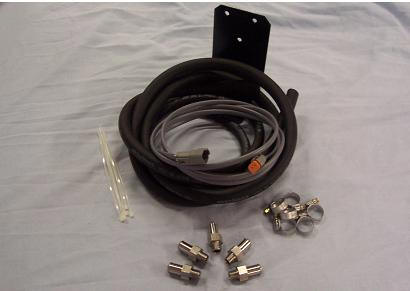
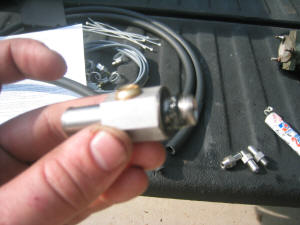
Kit includes:
Stainless Steel Vulcan Full Flow Fittings, Vulcan integrated fuel pressure adaptor (00-02 only), 30R7 fuel line, extended pump harness, pump bracket, clamps, cable ties
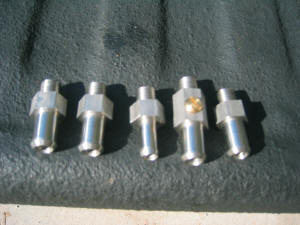
The VFFF’s (Vulcan Fuel Flow Fittings) Supplied are 1 tapped 1/2, 3-1/2, 1-3/8 All Stainless Steal
NOTE : This kit is designed to relocate your factory lift pump to your frame rail . I have 2 lift pumps; one on my rail and one in the factory location

What I had to add to the kit to Be able to run 2 Lift Pumps:
6 Feet 3/8 inch Fuel Line and 3/8 NPT to 3/8 Line adapter for isolator
The kit includes the line to run between the Fuel Filter and the pump but I Had to use the 3/8 VFFF on the inlet of the Factory Lift Pump so that required me to purchase the 3/8 inch line to run back my frame rail to my pusher pump.
Use Permatex 2
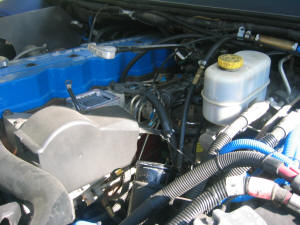
This is what we have to start with
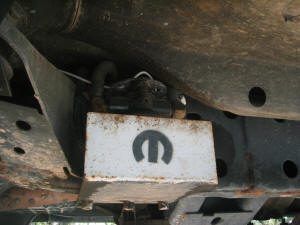
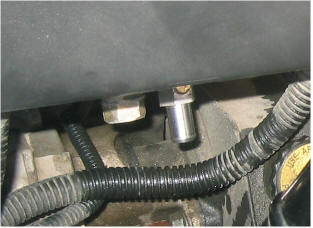
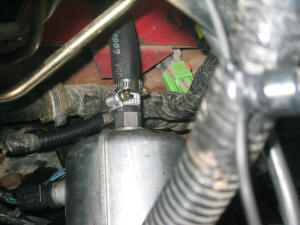
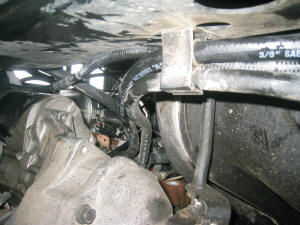
Here’s the pusher located on the outside of the drivers side frame rail below cab, This truck is a short bed theres not much room on the inside of the frame rail for the pusher.
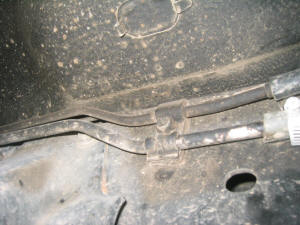
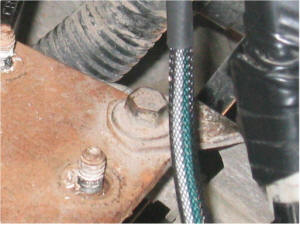
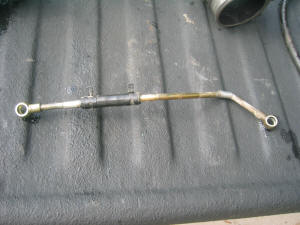
Here’s the factory fuel lines running along the inside drivers side frame rail the top line is the supply flowing to the motor and the bottom line is the return line flowing to the tank
Ok, Lets Get Started !
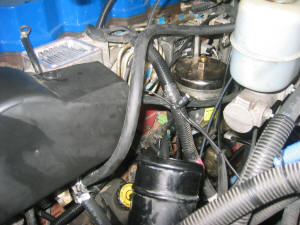
Remove the air horn completely
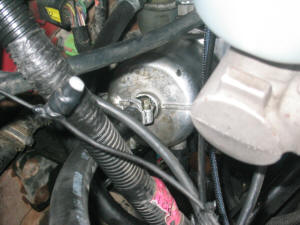
Remove the bolts from the fuel filter canister and let it lay down in the engine compartment for now
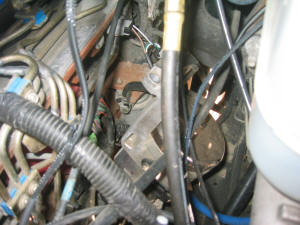
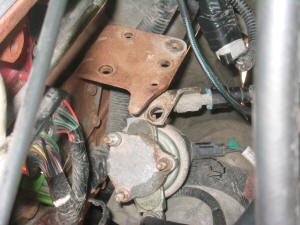
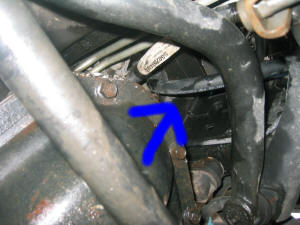
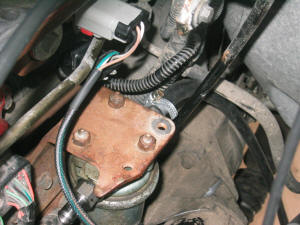
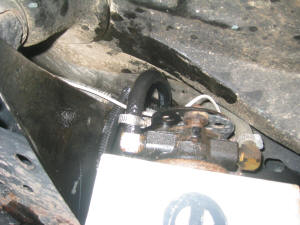
Locate your Lift Pump
There it is. Take A second and shake your fist at Dodge!!
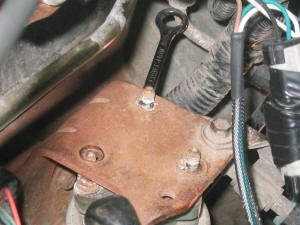
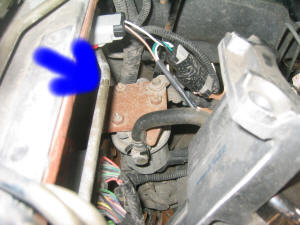
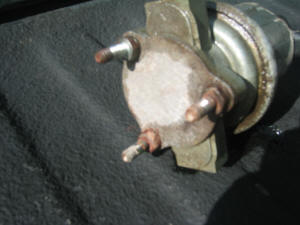
Then Remove the 3 nuts holding the LP to the bracket (do not remove bracket)
Of course the nuts don’t just come right off . . . you have to use a thin 7/16 wrench to hold the nut between the top of the LP and the bottom of the bracket while your lossening up the nuts thats holding the pump on, if your a contortionist you’ll be just fine.
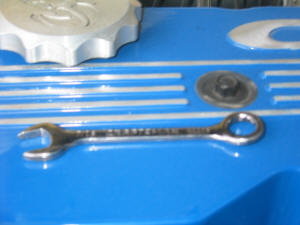
Here’s the little wrench I used.
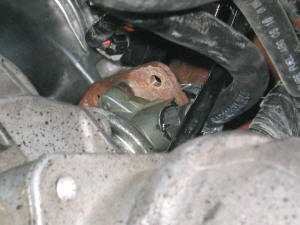
When the nuts are off you will have to remove the bolt holding the fuel line that’s connected to the bracket
Now the LP will come out of its hanger
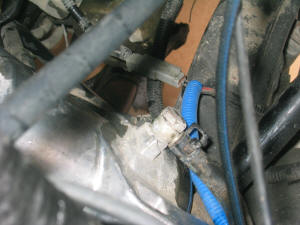
Unplug the connector and set it aside
Using a 17mm open end wrench remove the banjos and take the LP and put it on your bench
One of my bolts came out of the LP and it was striped out, I had to re-tap the LP to receive the mounting bolt. Hopefully you wont have this happen .

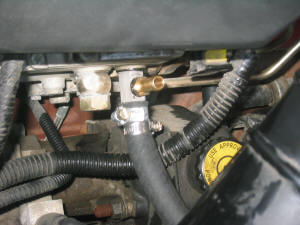
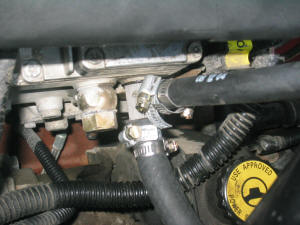
Flip the Fuel Filter Canister over and remove the Banjo
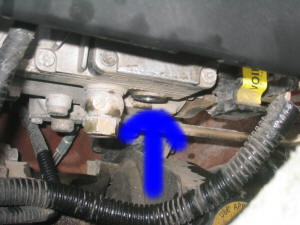
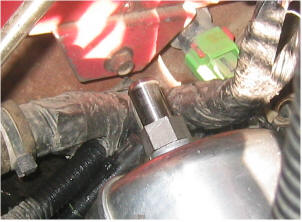
Remove the banjo on the Vp44. I had the Schrader Valve Hose attached here to read my fuel pressure.
Heres the factory line connecting the Fuel Filter Canister to the Vp44
Remove the banjo that’s on the side of the fuel filter canister that connected the line from the LP
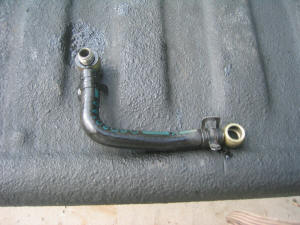
Here’s the line
Strip the factory sealing washers off the old banjos.
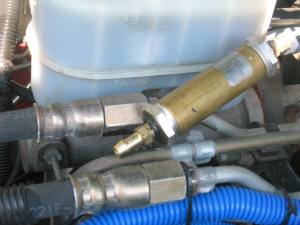
Prepare the Tapped VFFF by sliding on 1 sealing washer and putting a small bead of P2 on the threads
Place the tapped VFFF in the VP44
Prepare 2 – 1/2 VFFF and place them into the fuel filter canister
Remove the plug from the Tapped VFFF and place in your 3/8 NPT to 3/8 Line adapter don’t forget to put P2 on it.
Locate the Long 1/2 inch line supplied with the kit and cut 3 feet off of it for future use, with the rest of it………
Connect it to the VP44; the only way I could route the line with out kinking it was by going under the motor mount ….
Then strait up to the bottom of the Fuel Filter Canister .
Route the line and hold the FFC in place then cut to fit
Put the line on the bottom of the FFC

You will be able to use the 3/8 line supplied with the kit to run to your isolator
Just push it down out of the way for now
Prepare your VFFF’s thats left, 1- 3/8 and 1- 1/2 (Sealing washer and P2)
Place the 1/2 inch VFFF in the Outlet and the 3/8 in the Inlet
Connect the purchased 6 feet of line to the 3/8 VFFF (INLET)
Just poke all the fuel line down threw the engine compartment you will have to go in-between the oil dip stick housing and the motor with the fuel line
Leave the fuel line poked and hanging and reattach the LP to its hanger and reconnect the wiring

Locate the 3 Feet you ut from the supplied 1/2 inch line Connect it to the LP Outlet 1/2 VFFF and loop it towards the front of the truck then towards the steering arm then up to the side of the FFC and connect it.
You will have to route the line from the Outlet of the LP behind the FFC it fits inbetween the FFC and the Wire connection on the ECM
NO KNINKS !!!!!!!!
Take your time and replace the Fuel Filter Canister
Check all connections and follow all lines with your hand for any kinks. Try not to lay the lines against anything thats going to get hot.
Replace your Air Horn
OK. Now lets finish running the line between the Inlet of the LP to your Pusher.

When you pull the factory line down out of the engine compartment it will be under prime so disconnect it from your Pusher First and have a plug ready
Now pull out and ditch the factory line and route the new 3/8 line …..
Use the factory hanger
Connect it to the Outlet on your Pusher
Hook up isolator
I zip tied mine to these lines
Clean up all the tools and the mess.
Now …. Lets try to fire this thing up !
Bumb the starter and let the pumps cycle then bump it again do this about 5 times then start cranking it will fire !
Check for leaks and verify Fuel Pressure, Note that increased fuel pressure may not be seen, WHY ? … Because for more fuel pressure you need smaller lines its volume that we want if you have small fuel lines and your at 20 psi of fuel at idle when you’re WOT it will drop quick becasue it cant feed the flow you need . With bigger fuel lines you have volume so the drop at WOT is minimized and alot of free flowing fuel is being delivered to your motor, this will help cool the VP44 and keep it happy
Test drive
Good Job !
